
Breaded Chicken Breast In Air Fryer: Crispy And Juicy
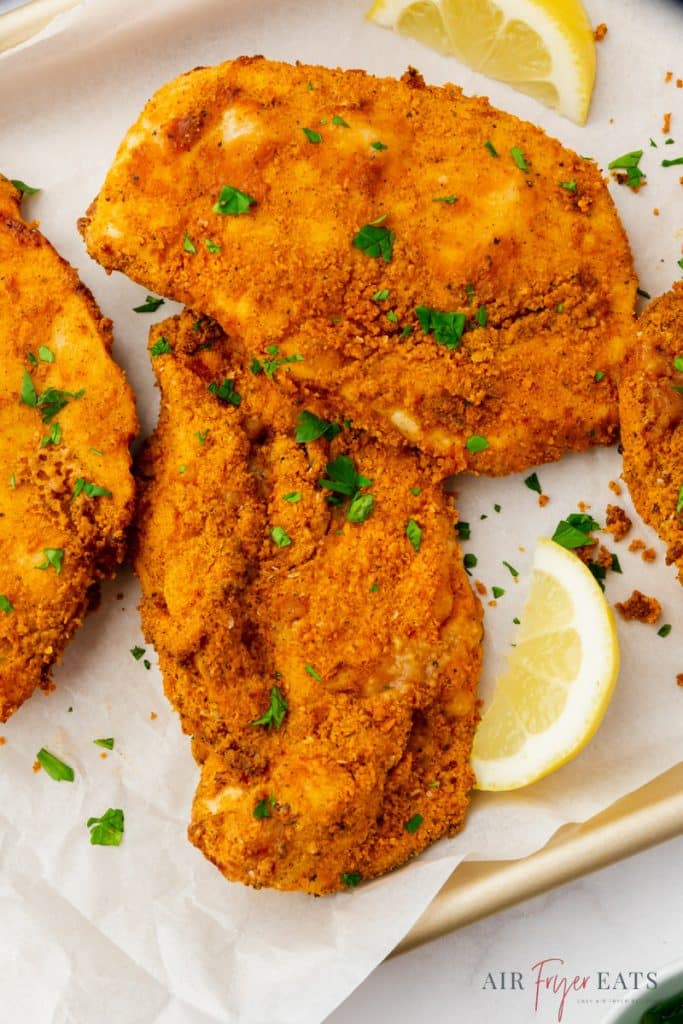
Breaded chicken breast in an air fryer cooks in about 10 to 14 minutes at 400°F. The chicken is ready when the thickest part reaches 165°F, as advised by the USDA. This method gives you a crisp coating with less oil than deep frying.
For the best result, use chicken breasts of even thickness, coat them well, and leave space between each piece in the basket. A quick spray of oil helps the crumbs brown and crisp.
Key takeaways:
- Cook boneless, breaded chicken breasts at 400°F for 10 to 14 minutes.
- Flip the chicken halfway through cooking.
- Use a meat thermometer, not color alone, to check doneness.
- Cook in one layer so hot air can reach every side.
- Rest the chicken for about 3 minutes before slicing.
Why the Air Fryer Works for Breaded Chicken
An air fryer uses fast-moving hot air to heat the food from all sides. The dry heat helps the breading turn crisp while the chicken cooks with little added oil.
Chicken breast is lean, so it can dry out if it is too thin, too thick, or cooked too long. Pounding the meat to an even thickness solves much of this problem. Each piece then cooks at a similar rate.
Panko breadcrumbs usually make a lighter, crunchier crust than fine breadcrumbs. Regular breadcrumbs create a smoother coating. You can also mix the crumbs with grated Parmesan, paprika, garlic powder, or dried herbs for more flavor.
The air fryer does not make raw chicken safe by time alone. Chicken must reach an internal temperature of 165°F in the thickest area. Insert the thermometer from the side so the tip reaches the center of the meat.

Ingredients and Equipment
This recipe makes 4 servings.
Ingredients
- 2 large boneless, skinless chicken breasts, about 1 to 1½ pounds total
- ½ cup all-purpose flour
- 1 teaspoon kosher salt
- ½ teaspoon black pepper
- 1 teaspoon paprika
- ½ teaspoon garlic powder
- 1 large egg
- 1 tablespoon water
- 1 cup panko breadcrumbs
- 2 tablespoons grated Parmesan, optional
- Olive oil spray or another cooking spray labeled for high-heat cooking
Equipment
- Air fryer
- Three shallow bowls
- Meat thermometer
- Cutting board
- Rolling pin or meat mallet
- Tongs
Use a thermometer with a clean probe. If the probe touches the pan, basket, or bone, the reading may not show the true temperature of the meat.
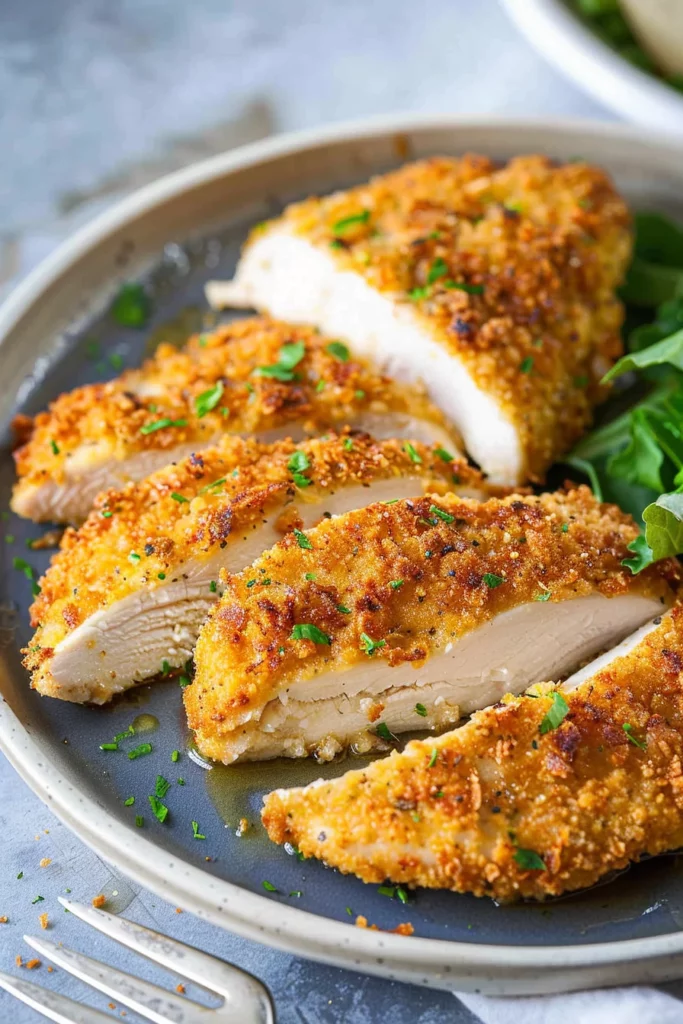
How to Make Breaded Chicken Breast in an Air Fryer
1. Prepare the chicken
Place each chicken breast on a cutting board. Cover it with plastic wrap or parchment paper, then gently pound it to an even thickness of about ½ inch.
If a breast is very thick, slice it horizontally into two thinner cutlets. Even pieces are more important than exact size.
Pat the chicken dry with paper towels. Dry meat helps the flour and egg coating stick.
2. Set up the breading station
Place the flour in the first shallow bowl. Stir in the salt, pepper, paprika, and garlic powder.
In the second bowl, whisk the egg with 1 tablespoon of water. Place the panko and Parmesan, if using, in the third bowl.
This three-step coating gives the crumbs a firm surface:
- Flour dries the outside and gives the egg something to grip.
- Egg creates a sticky layer.
- Breadcrumbs form the crisp outer coating.
3. Bread the chicken
Coat one piece of chicken in the seasoned flour. Shake off the excess.
Dip it into the egg mixture. Let extra egg drip back into the bowl.
Press the chicken into the breadcrumbs. Turn it and press again so the crumbs cover the edges and both sides.
Place the coated chicken on a clean plate. Repeat with the remaining pieces.
Do not leave raw chicken on a plate that held cooked food. Wash the plate, board, and utensils that touched the raw chicken with hot, soapy water.
4. Preheat the air fryer
Preheat the air fryer to 400°F for about 3 minutes, unless your model manual says preheating is not needed.
A hot basket helps the coating begin to set at once. It can also reduce the chance of breading sticking to the basket.
Lightly spray the basket. Spray the top of the breaded chicken as well. Use only enough oil to lightly coat the crumbs. Too much oil can make the crust greasy.
5. Air-fry the chicken
Place the chicken in the basket in one layer. Leave a little space between pieces. Do not stack or overlap them.
Air-fry at 400°F for 5 to 7 minutes. Carefully flip the chicken, then cook for another 5 to 7 minutes.
The total time is often 10 to 14 minutes, but it depends on the thickness of the chicken, the air fryer model, and how many pieces are in the basket.
Check the thickest piece with a meat thermometer. Remove the chicken when it reaches at least 165°F.
6. Rest and serve
Move the chicken to a clean plate. Let it rest for about 3 minutes before cutting.
Resting gives the hot juices time to settle. It also helps the coating stay attached when you slice the chicken.
Serve it with roasted vegetables, salad, mashed potatoes, rice, or a dipping sauce.
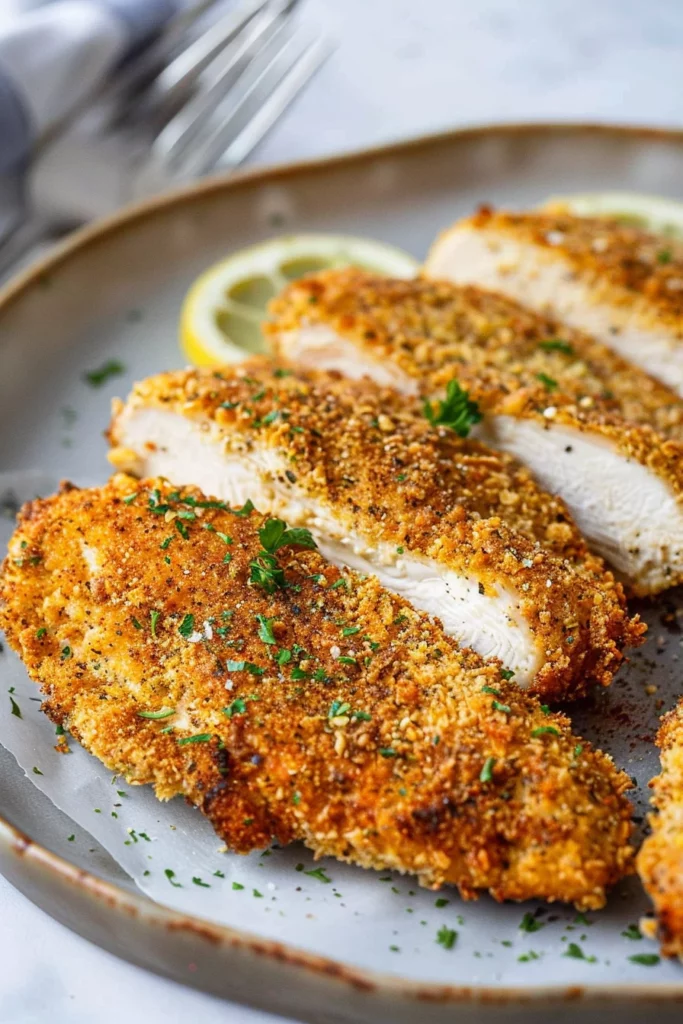
Air Fryer Time and Temperature Guide
Use this table as a starting point, not a substitute for checking the internal temperature.
| Chicken type | Temperature | Approximate time | What to check |
|---|---|---|---|
| ½-inch breaded cutlets | 400°F | 10–12 minutes | Center reaches 165°F |
| ¾-inch breaded pieces | 400°F | 12–16 minutes | Thickest area reaches 165°F |
| Small chicken tenders | 400°F | 8–12 minutes | No raw center; reaches 165°F |
| Thick, unpounded breasts | 375°F | 18–25 minutes | Temperature at the thickest point |
| Frozen, commercially breaded chicken | Use package directions | Varies | Follow the package and verify doneness |
The thinner the chicken, the faster it cooks. A crowded basket slows cooking because air cannot move freely around each piece.
If your chicken is browning before the center is cooked, lower the air fryer to 375°F and continue cooking. If the chicken is cooked but the coating is pale, add 1 to 2 minutes at 400°F.
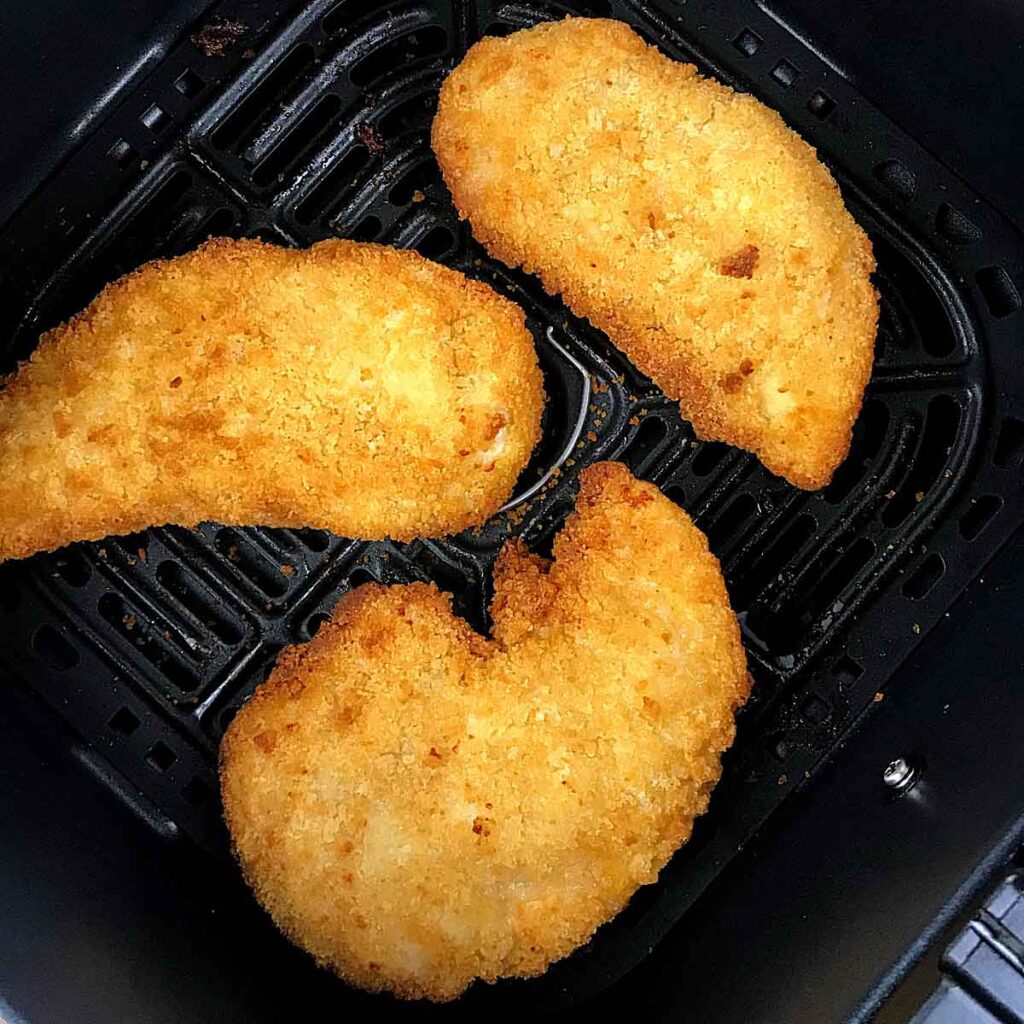
How to Keep the Chicken Juicy and the Breading Crisp
The most reliable way to keep chicken breast juicy is to control thickness and cooking time. Very thick pieces need more time, while thin pieces can become dry quickly.
Use these adjustments:
- Pound uneven chicken: This prevents thin edges from drying before the center cooks.
- Dry the meat first: Moisture can make the coating slide off.
- Press in the crumbs: Loose crumbs may fall away in the air fryer.
- Use a light oil spray: Oil helps browning and crisping.
- Avoid crowding: Space lets hot air reach the whole crust.
- Flip carefully: Use tongs or a thin spatula to protect the coating.
- Rest briefly: A short rest helps preserve moisture.
For extra crunch, use panko breadcrumbs. For a more tender crust, combine half panko with half regular breadcrumbs.
If you want a darker crust, add a little oil spray before cooking. Do not rely on color to judge safety. Some coatings brown early, while others remain light even after the chicken is fully cooked.

Common Problems and Simple Fixes
The breading falls off
Possible causes include wet chicken, too much egg, or not pressing the crumbs onto the meat.
Pat the chicken dry before breading. Let excess egg drip off, then press the crumbs firmly onto both sides. After coating, let the chicken sit for 5 minutes before placing it in the air fryer.
The coating is pale
A pale crust often means the crumbs did not receive enough oil or the basket was not hot enough.
Lightly spray the breaded chicken with oil. Make sure the air fryer is preheated if your model calls for it. You can also add a small amount of paprika to the crumb mixture for color, but paprika does not replace proper cooking.
The chicken is dry
Dry chicken usually means the pieces were too thin, cooked too long, or not checked during cooking.
Start checking thin cutlets after 9 or 10 minutes. Remove them as soon as the thickest part reaches 165°F.
The bottom is soggy
Sogginess can come from trapped steam, excess oil, or a crowded basket.
Cook in one layer, avoid wet marinades under the crumbs, and do not cover the chicken while it rests. A wire rack can help keep the bottom crust dry after cooking.
The chicken is brown outside but raw inside
The pieces may be too thick, or the air fryer may run hotter than its display suggests.
Lower the temperature to 375°F and continue cooking. Check the thickest part with a thermometer. Never serve chicken that has not reached 165°F.

Food Safety and Storage
Handle raw chicken as a potential source of harmful bacteria. Keep it separate from foods that will be eaten raw, such as salad or fruit.
Wash your hands before and after handling the chicken. Clean surfaces, bowls, and tools that touched raw poultry. Do not rinse raw chicken; splashing water can spread bacteria around the sink and counter.
Cooked chicken should be refrigerated within 2 hours. If the room temperature is above 90°F, refrigerate it within 1 hour, following USDA food safety guidance.
Store leftovers in a covered container in the refrigerator and use them within 3 to 4 days. Reheat until the center reaches 165°F.
To reheat breaded chicken, use the air fryer at 350°F for 3 to 6 minutes, depending on thickness. The microwave is faster but usually softens the breading.

Serving Ideas
Air-fried breaded chicken works well as a main dish or as a filling for other meals.
Try it with:
- Marinara sauce and mozzarella
- Honey mustard
- Ranch dressing
- Buffalo sauce
- Lemon wedges
- Coleslaw
- Green beans
- Air-fried potatoes
- Caesar salad
- Rice and steamed broccoli
For sandwiches, let the chicken rest first. Place it on a toasted bun with lettuce, tomato, pickles, and a small amount of sauce.
For a salad, slice the chicken after resting and add it while still warm. The crisp coating gives a simple salad more texture without deep frying.
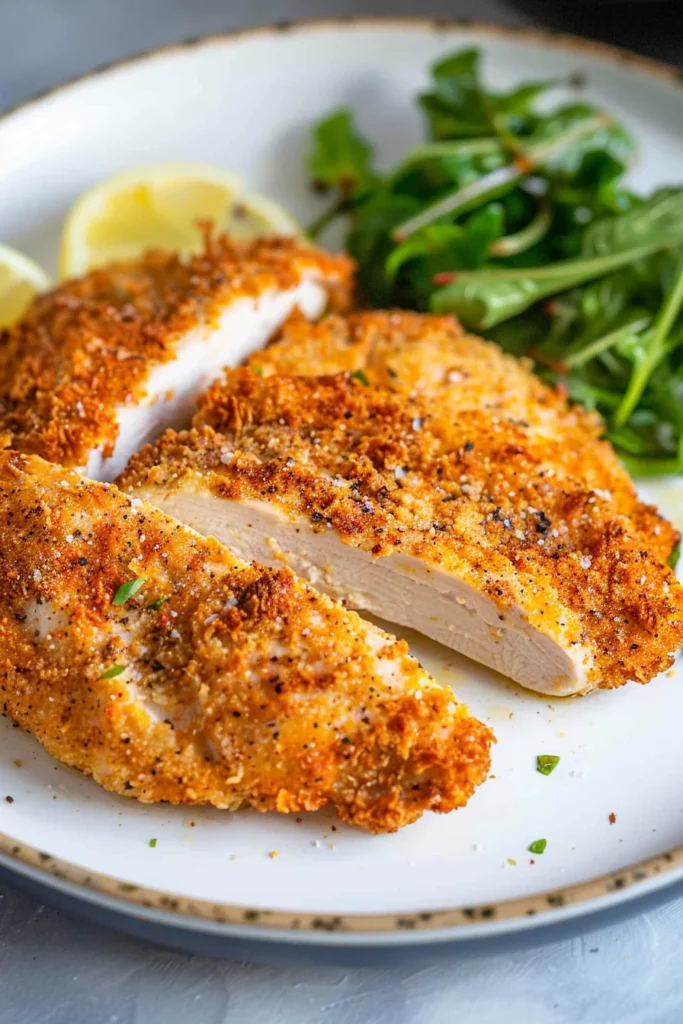
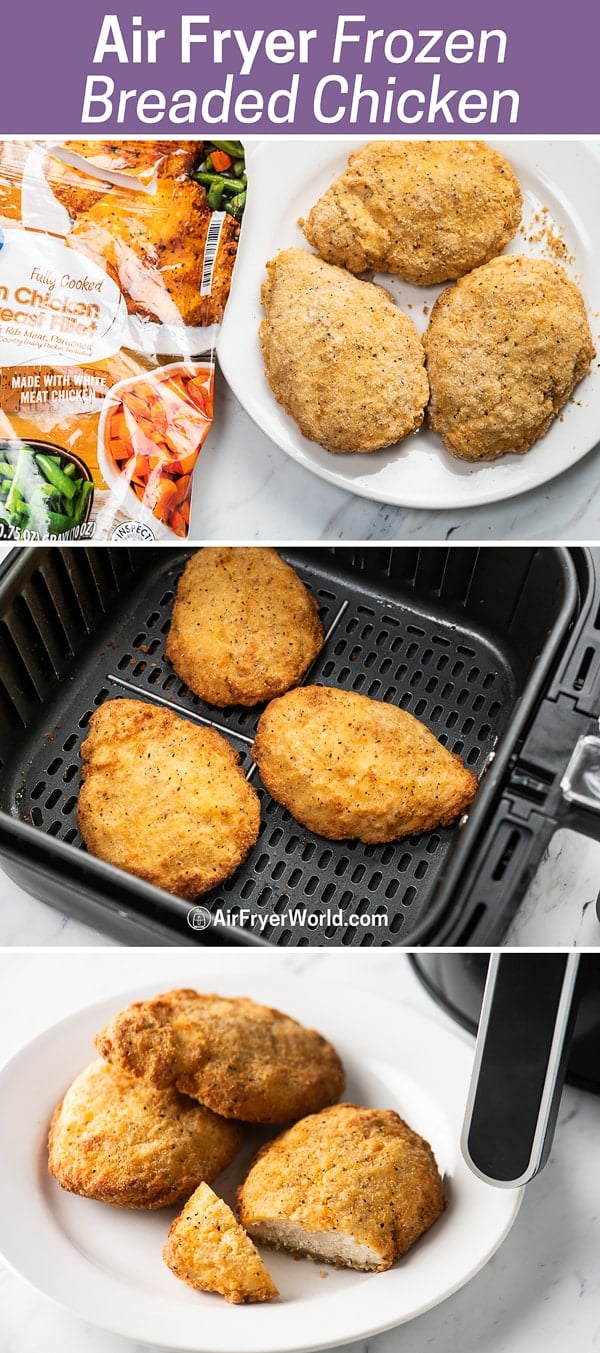
Can You Use Frozen Breaded Chicken Breast?
Yes, but frozen commercially breaded chicken and homemade raw breaded chicken are not the same.
Frozen store-bought chicken usually has cooking directions designed for that product. Follow the package instructions first. Air fryer sizes and product coatings vary, so check the center with a thermometer when possible.
Homemade chicken that was breaded while raw may cook unevenly from frozen. The outside can brown before the center reaches a safe temperature. For more even results, thaw raw chicken in the refrigerator, then bread and cook it.
Never thaw raw chicken on the counter. Use the refrigerator, cold water, or a microwave followed by immediate cooking, as outlined by the USDA.

Frequently Asked Questions
How long does breaded chicken breast take in an air fryer?
Most ½-inch breaded chicken cutlets take 10 to 14 minutes at 400°F. Flip them halfway through. The exact time depends on thickness and the air fryer, so confirm that the center reaches 165°F.
Do I need to flip breaded chicken in the air fryer?
Flipping is recommended. It helps both sides brown and lets hot air reach the underside. Turn the chicken gently so the coating does not peel away.
Should I use flour when breading chicken?
Flour is not required, but it helps the egg adhere to the chicken. A flour, egg, and breadcrumb coating usually stays in place better than breadcrumbs applied directly to wet meat.
Can I cook breaded chicken without oil?
You can, but the coating may be less crisp and less golden. A light spray of oil improves browning without the amount of oil used for deep frying.
How do I know when air-fried chicken breast is done?
Check the thickest part with a food thermometer. The chicken is safe when it reaches 165°F. Do not rely only on clear juices, firmness, or the color of the crust.
Final Tips for the Best Air-Fried Breaded Chicken
Use even chicken pieces, dry them well, and press the crumbs onto the surface. Cook in a single layer at 400°F, flip halfway through, and begin checking early.
The key step is temperature, not guesswork: remove the chicken only after the thickest part reaches 165°F. With that check in place, the air fryer gives you a crisp coating, tender meat, and a quick weeknight meal.